Guest Post
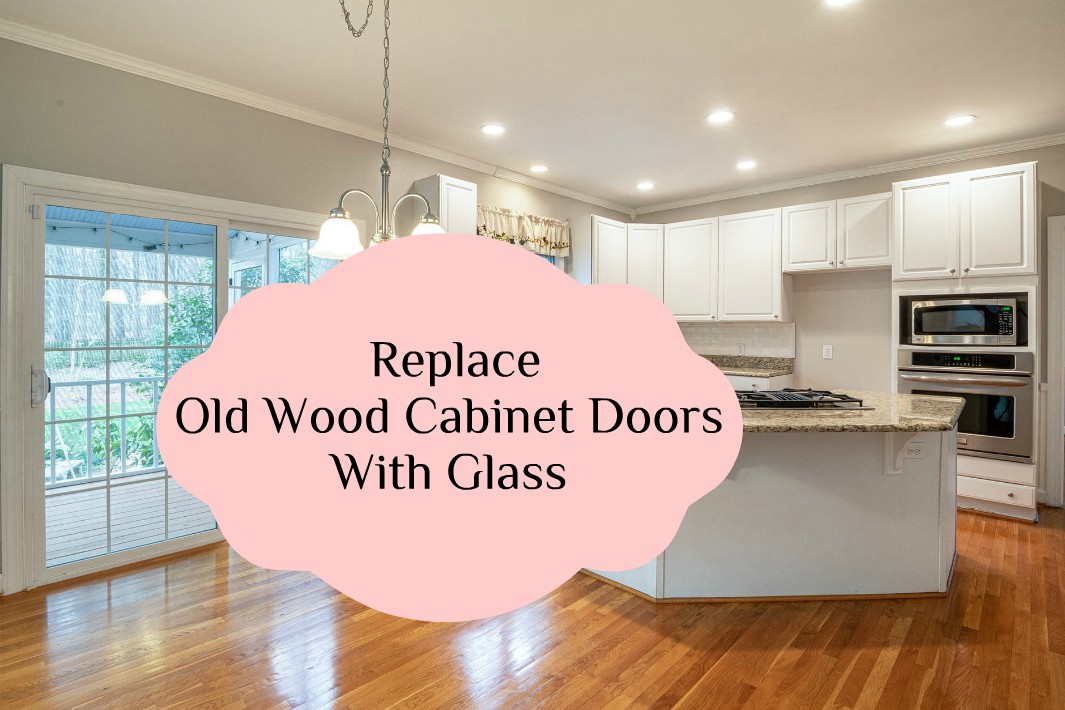
This DIY Idea Lets You Replace Your Old Wood Cabinet Doors With Glass
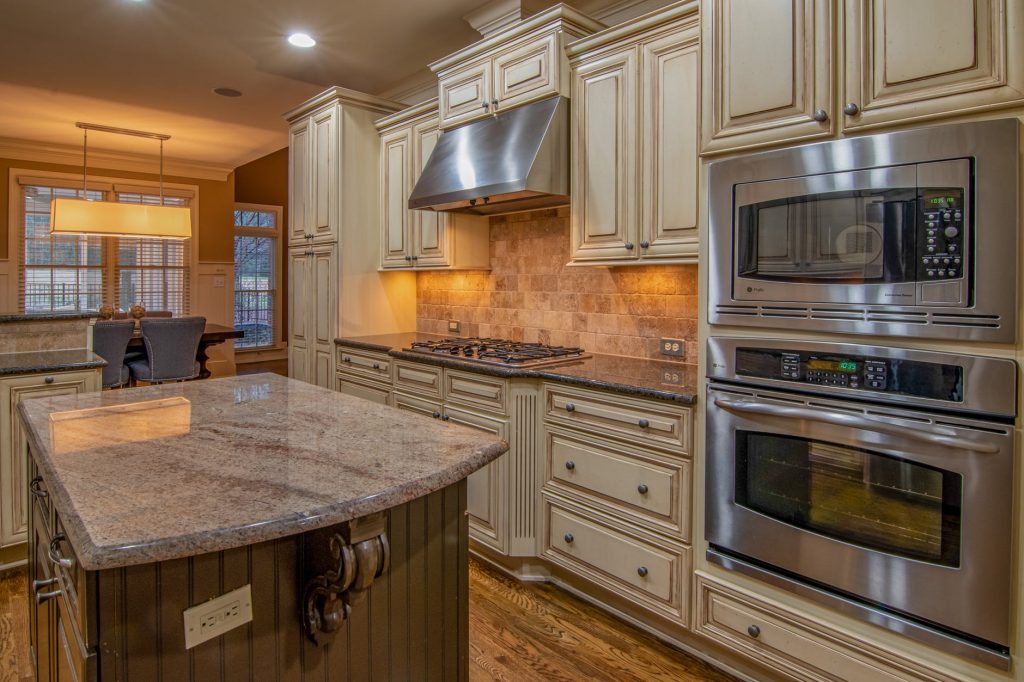
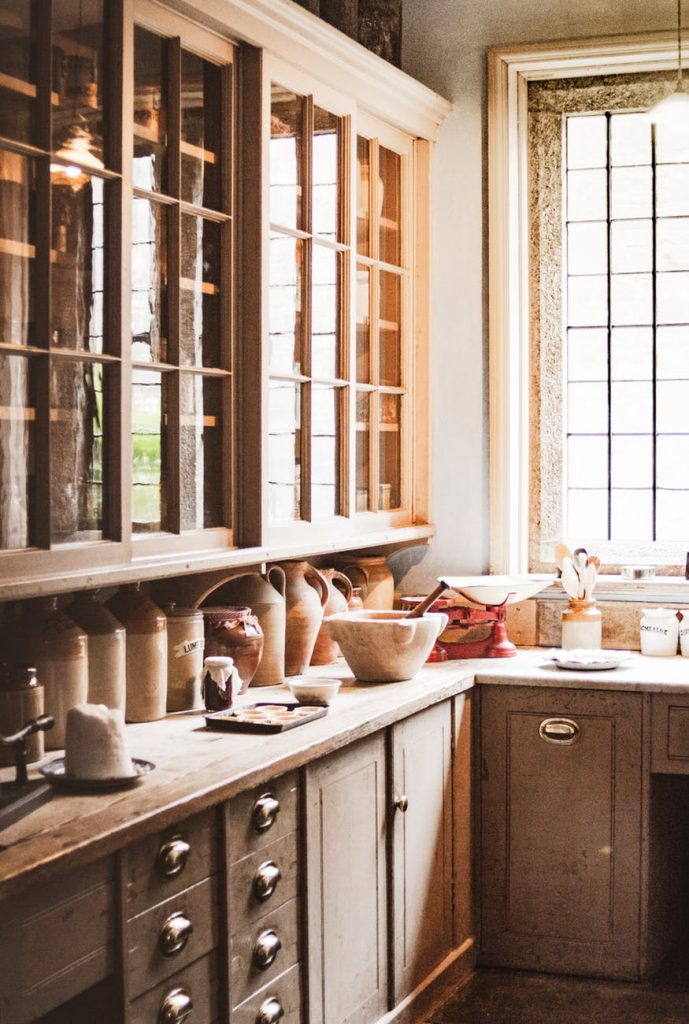
Adding glass doors to kitchen cabinets has been quite popular these days as they match almost any door.
Are you tired of your old kitchen cabinets? Why not bring a little charm by converting the wooden door into a glass door? Adding glass doors to kitchen cabinets has been quite popular these days as they match almost any door. They also bring a designer touch into your kitchen, turning your ordinary cabinets into decorative showcases.
Sometimes wood doors straight from the manufacturer don’t match your existing cabinets. And, most manufacturers don’t make such glass doors anymore. Fortunately, you can convert your wood cabinet door into a glass one, and all you need are a few tools and the right technique.
How to Replace Your Wood Cabinet Doors into Glass
Going to a professional woodworker to fit the glass into your existing space may cost a lot of money. Instead, you can easily turn them into your favorite glass doors using the following instructions.
Step 1: Gather The Required Tools
While adding glass to your old cabinet door can be a fun DIY project, things can turn into total frustration if you don’t have the necessary tools and materials lined up before starting.
The first thing you need to help you create an outstanding glass door is the glass itself as well as glass clips. Also, don’t forget to buy router bits as you may need them to cut a hole into your old manufactured doors.
While there are so many router bits available on the market, the best ones will provide you with more than one cutting edge. You will also need other tools like a utility knife, cordless drill, clamps, and measurement tape. Collect them before you start your project to avoid any inconveniences.

Step 2: Start Measuring
Take a measurement tape and determine the depth of the door’s mortise. You can measure it either at the bottom or the top of the door. If your door is mitered at a 45° angle, you need to experiment a little bit .
Pick a spot on the back of the wood door and cut back a quarter of an inch. If you still do not find the edge of the insert panel, continue removing the wood in 1/8” increments until you find it.
Step 3: Start Marking
It’s important to mark the area you need to cut. Otherwise, you may end up cutting too deep to fit the glass. Use masking tape to mark on the back of the door, determining the area you want to cut.
To protect the face of the door from scratch, put some cardboard underneath the door. Attach a straight edge to the back of the door in order to cut a straight line without mistakes.
Step 4: Start Cutting
With a table saw, slowly cut the line to the same depth as the reveal between the insert panel and the back of the door. While you’re cutting, look for the 23 gauge pin nails that manufacturers use to stabilize the flat panel inserts.
Sometimes, the insert or the frame can expand at different rates and expose the unfinished wood on the insert panel. To prevent this from happening, pin nails are used. Some manufacturers also use rubber bushings between the crotch of the mortise and the edge of the panel.
Remove the nails using the pliers. Make sure all of the nails are removed as they can damage your expensive router bits.
Step 5: Do Some Curve Cutting
If your cabinet door comes with a cathedral or arched top, you need to cut the curve. Mark the line you need to cut using masking tape and cut the decorative curve with the router bits.
Make sure you don’t cut so deep that it becomes difficult to add the glass later. To avoid this risk, start by making a rough cut first and then adjust it later with a sharp straight chisel.
Step 6: Removing The Panel
The panel is supposed to pop out at this point. If you see the edges clearing the frame and you’re struggling to cut it, flip the door over, ensuring the front is facing you.
Gently run a razor knife along the seam where the frame and the insert panel meet each other. If you see that the finish is forcing the panel to stick, score the seam and protect the door front from possible damage.
Step 7: Make Sure There’s No Raw Edge
As you have your center panel out, it’s time to take care of those raw edges. Use a stain pen that closely matches the color of the wood.
The raw edges tend to stick out, particularly when the door is open. That’s why it’s important that you take care of those edges before you install the glass.
Step 8: Installing The Glass
Now, your door frame is ready for the glass. Buy a glass of your choice from a home improvement shop or a local glass shop. If the frame is rectangular, you don’t need to do anything else to prepare the glass.
However, if the frame is arched, the glass needs to be cut accordingly. Now, place the glass into the frame and secure it using clips. You can use a glass or silicon clip based on your preference. While a glass clip is easier to set, a silicon clip rattles less.
Once your glass door is ready, mount it back on the cabinet and just look at the amazing view you just created.
Final Thoughts
Woodworking is always fun, and you have a wide range of options to give your traditional cabinets and furniture a new and artistic look. The process mentioned above is quite simple and doesn’t require too many tools. All you need is to be a bit creative with the glass and get the right tools to start your DIY project.
By replacing your wood door with a glass one, you can have the biggest impact in your kitchen. While wood doors can make your kitchen look dull and boring, a clean gleam of glass can brighten it in seconds.
Disclaimer – This is a guest post & may contain collaborative links. Thank you for your support.