DIY
Monogram Wall Art Tutorial
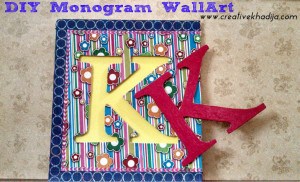
Today I will be sharing the making of my name KK monogram wall art, You may have guess who is KK..? Yep its the same girl who is typing this blog post super quickly right now.. haha.. I am REALLY late in posting this art as I have made it couple months back. Well today finally its here..
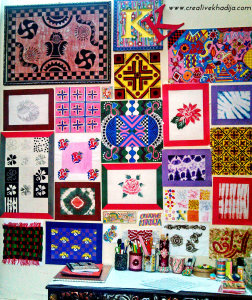
I wish everyone have a monogram wall art in their rooms, & specially crafters should be having something like this in their craft studio walls..or in a craft room, (You can see my Craft Studio Wall which is now having this monogram wallart) I don’t know why I like monogram letter a lot..the different types & fonts of monogram letter are always interesting! so I thought why not to try one.. or to have one? Have a look now!
Monogram Wall Art Tutorial
ME…Khadija Kiran is mostly known as KK in her friends circle..do you know? well, when I thought to create a monogram wall art, I plan to do it with KK.. not just with a single K.. So this is what I have done!
Now see the simple way how I made it..
You will need to have a wooden sheet, Paper sheets of different designs, Mod Podge sealer, washi tape, knife, cutter & scissors & double tape too.Its a wooden piece of art but designed with Decoupage & washi tape, Now see the complete tutorial..
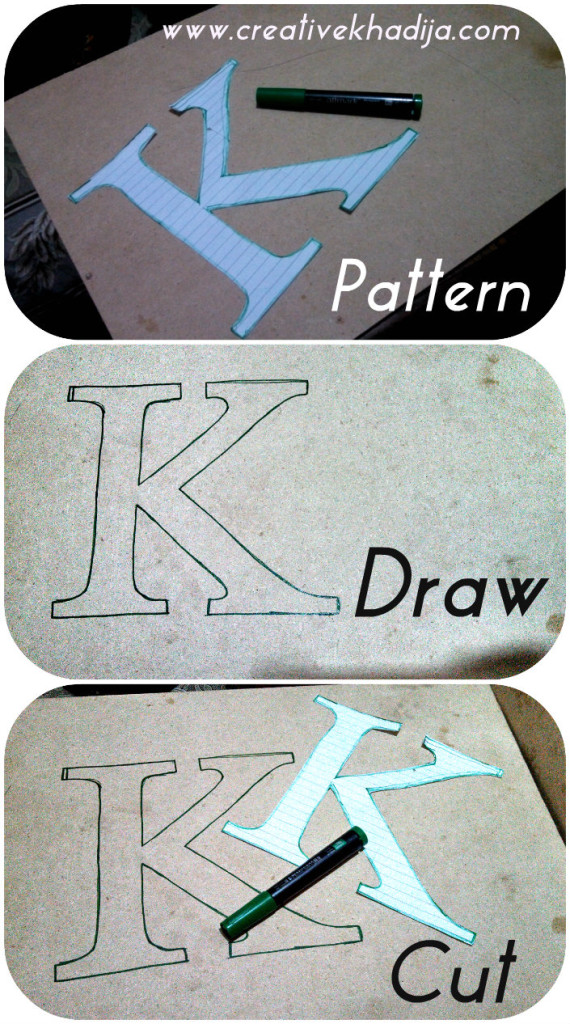
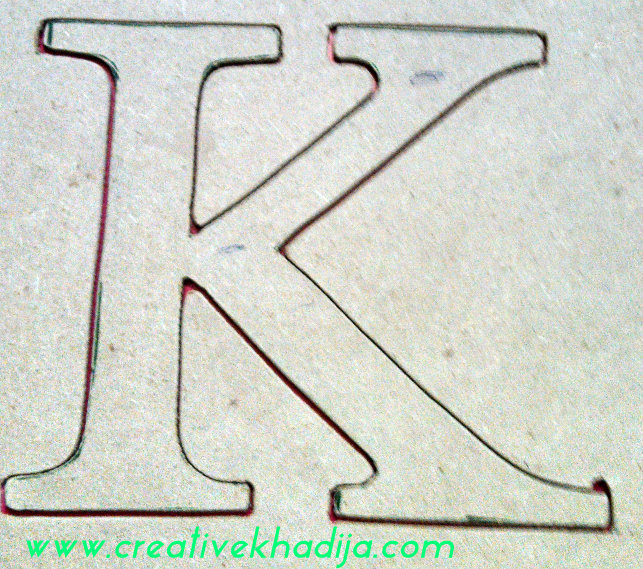
At first I take a wooden sheet & made a pattern of K over it, then I gave it to carpenter for cutting the wood neatly..
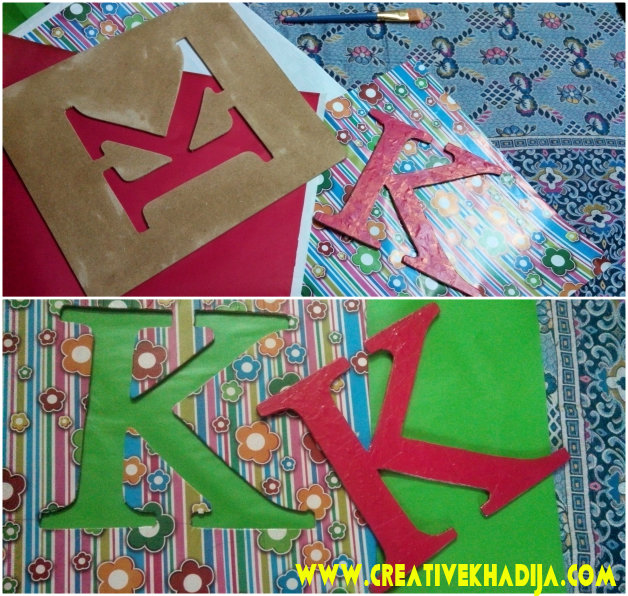
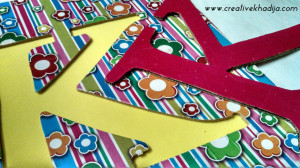
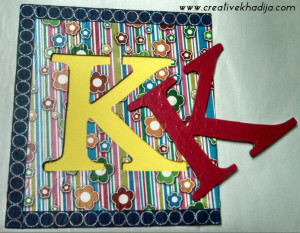
This is how I got two KK.. the one is kinda base & other is fixable piece. I can fix these again too..
It was hard to decide about color selection, there was a base from which I got the K cut out, and the other K was a separate alphabet.
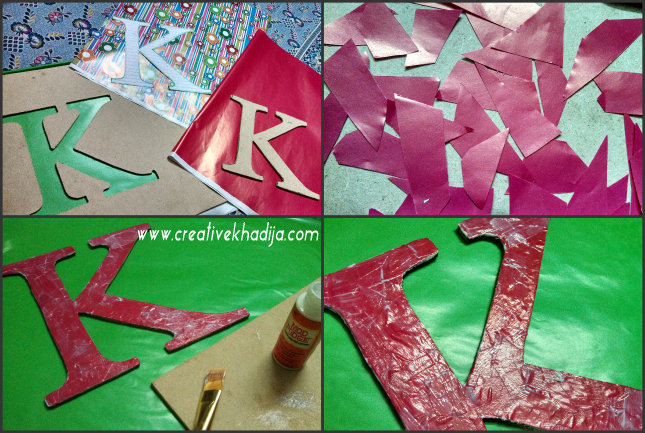
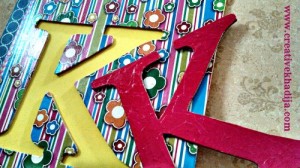
I cut some red paper pieces & then did some decoupage on the separate latter. and the favorite part in decoupaging paper crafts is always Mod Podge.. which really Rocks.. Let it dry & you can paint some more coats for the perfect shine!
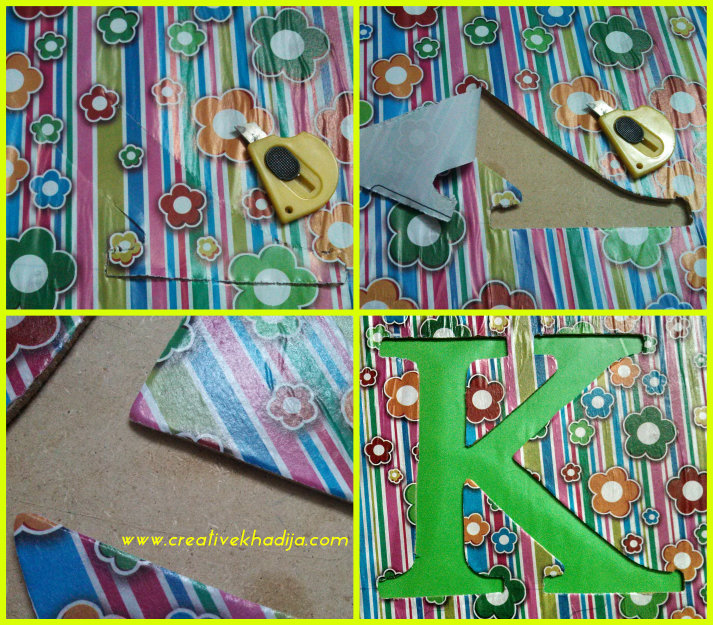
Now work on the base sheet from where K cut out is done, Paste the sheet over it & when it will be dry then carefully cut it & fold the edges with glue nicely!
I were thinking about the color which will be showing from the other side, I like green but as the base color was already having green flowers, so I skip it..lets see for any other color..
Yeah Yellow! a bit different & something bright.. yellow color is not much used in my crafts.. you may notice but really, its not something cute in arts & crafts.. so I don’t know why I don’t appreciate it in crafts mostly..
I paste the yellow foamic sheet at the back side of the base sheet. and then fixed the red decoupaged K piece over it with double tape..
Well now there was a question on how to arrange it..? where to fix it on the base..? So I ask my followers at Instagram & they super sweet people were giving me some suggestions Here
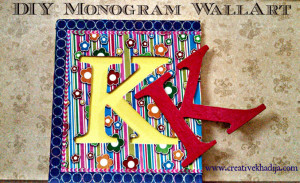
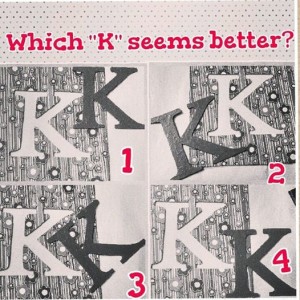 Well finally with the suggestion of my readers at social networks, I arrange it..and here it is..
Isn’t it looking fine? Well I am happy with the end result ..
I hope you liked it too.. let me know how is it looking?
Its making was not so difficult, I use washi tape border at the sides too.. you can try with different ideas of your own if you dont style it with paper decoupage!
And if you want to buy this kind of wall art with your Name or just a letter of your name, drop me an email for the further details here at kkcreativemind (at) hotmail (dot) com
If you want to see my all other wall hangings & wall arts you can check my archives WallArts HERE.
Keep creating & happy crafting friends..Have a good day!
Khadija ~












Pingback: DIY Projects Junkin Joe { July 4th 2014 } - The Cottage Market