DIY
How to decorate craft room wall with wooden tiles
Welcome to May 2016. How are you doing my crafty friends? I hope you are enjoying your weekend. April month was super busy & fun for me. What about you, What you have been up to? I am working on some fun projects. Will be sharing with you later. In my previous post I promised I will share tutorial of these blue photo frames with Polaroid prints. Remember? When I were working with Duct Tape Crafts First time, It was a fun experience. I made a flower on pencil. That was not so good but I am glad my crafty fellas enjoyed it.
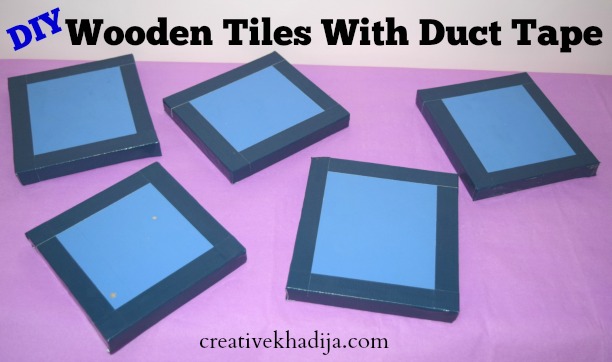
Have a look now what I have experimented with duct tape this time! Simple, easy & fun useful idea.
How to decorate craft room wall with wooden tiles
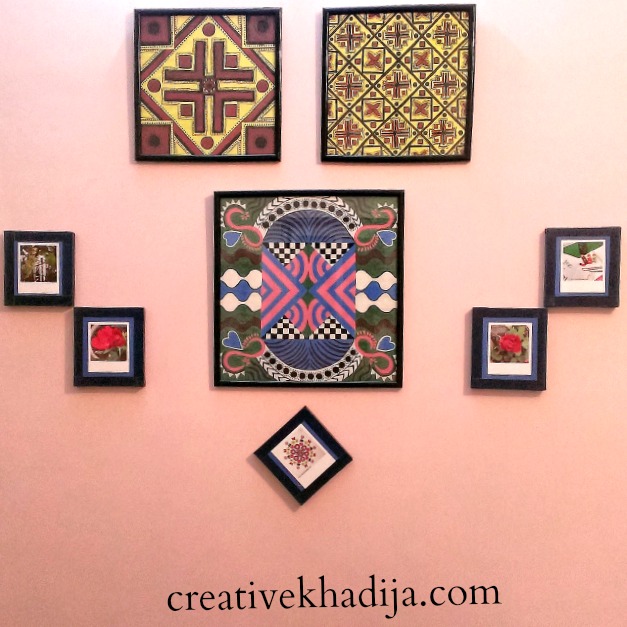
Looks cool? See how I used duct tape to make some wall arts out of trash wooden tiles/blocks. Are these good for making a wall art? Let’s see!
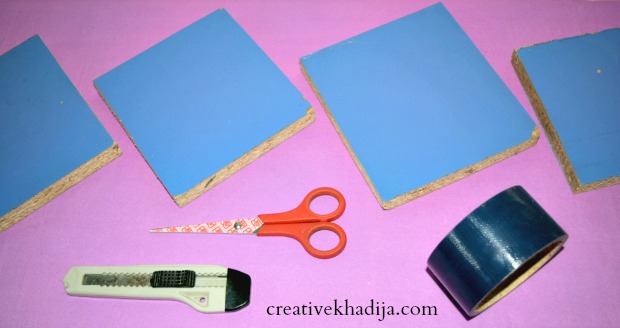
I had 5 leftovers pieces of wooden. I got these during some work at a wall cupboard making. These wooden tiles were in the trash. I saved these few months back. In these previous weeks, I were thinking about how to decorate & design these. Duct tape solved my trouble finally & here is the idea ready today.
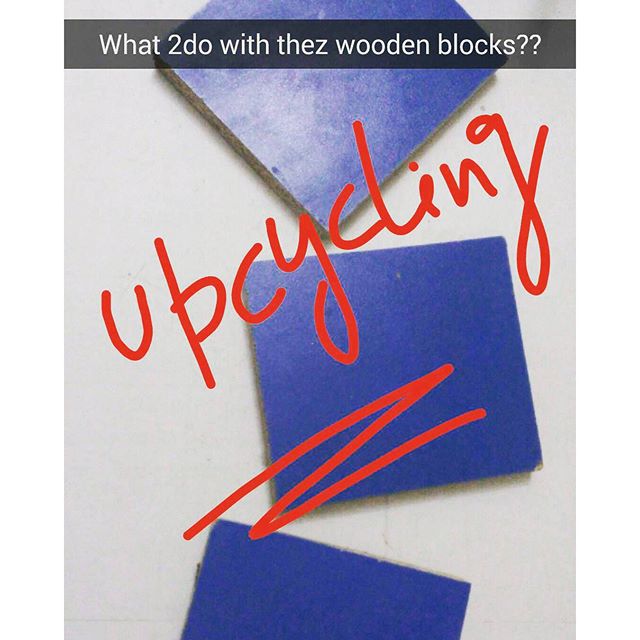
Do you remember my this snapchat in which I was confused about what to do with these trashy items & how to craft them beautifully!!
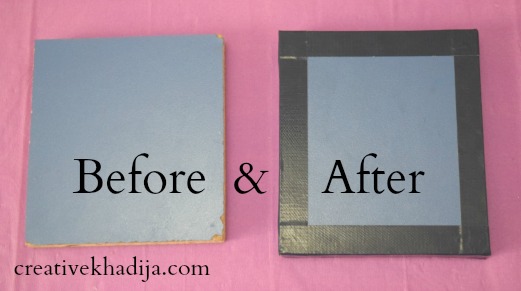
So I made frames kind of wall art by applying duct tape on the tiles rough border/edges. Follow the simple steps & have fun getting this idea!
You will need :
Wooden Tiles – 5
Duct Tape – Any color
Scissors – Non Stick is better.
How To Make :
- Working with duct tape is not easy at all. So work carefully please.
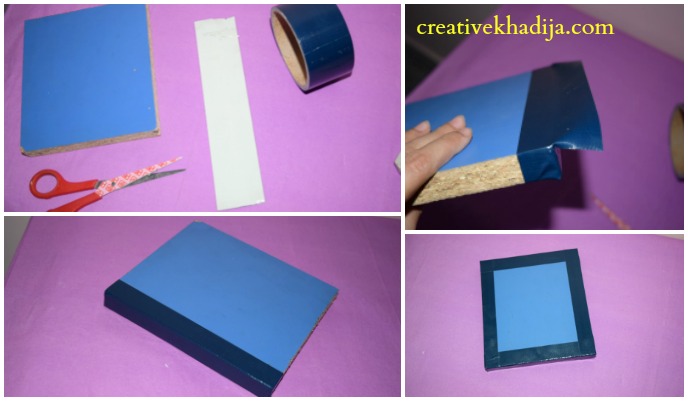
- First of all I cut strips according to the size of blocks, 4 strips of duct tape for each tile. Paste carefully at one side, keep the width same & straight for all four sides. I cut the tape randomly for all 4 sides, but if you want to measure before cutting, It’s better. You can spot the tile borders with pencil for properly covering the borders, You can make a line & then tape it properly! It’s up to you if you can not keep the lines straight then measure & spot it.
By the way, it’s looking like a book in an image above, isn’t it?
See the difference. From trash to treasure kinda thing. Before & after crafts are fun!
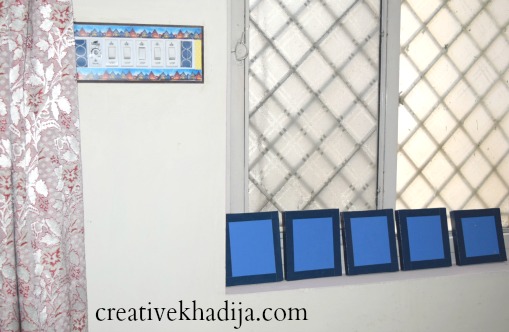
These tiles were not all the same sizes, two were bigger, two were smaller & the one is square & smallest than all 4. Can you spot the difference?
This is my craft room window! I think you remember this washi tape decorated switch board DIY.
This is how these wooden tiles are now looking on my craftroom wall. In my previous post I shared these already.
I used double tape for pasting the polaroid prints on the wooden tiles. It was super easy & quick idea. My brother suggest me to shuffle the images with time & this is one cool idea. Isn’t it?
I hope my today’s article will help you if you are planning to decorate your wall with any art piece. Have you ever tried any wall art like this? I would love to see yours creativity with duct tape wall arts! feel free to share with me.
You can also find my other craft room renovation and design related articles HERE
Have a great weekend!
Thank You.
Khadija ~














20 Comments