DIY
Rosette Tutorial
Published on
Today’s tutorial is very simple & easy.This is a rosette..a simple fabric flower. It can be used with so many things decoration & the trick of making the rosette is really easy. Although i learn after some trial & errors but finally I made some Rosettes. The fabric is the same if you remember once I told you once. I had some fabric pieces gifted by one of my relative, I made a lot of home accessories with that fabric but still there is a heap of fabric in my stash. So i am still making things with it.
Rosette Tutorial

Rosette Tutorial
Now check it’s the tutorial.

Cut some strips of fabric,one inch wide & 15 inches in length
This is a silky fabric & i like the raw edges of strips & some frays, if you want fine edges of fabric, you can use some glue or sew it as well.

Rosette Tutorial
Make a knot & start rolling the fabric as shown in 2nd picture. Make it round and use glue for fixing the twist.
I use needle & thread for compiling the strips. It’s more easy to use hot glue than needle and thread. Whatever you feel better, give it a try.
Rosette Tutorial
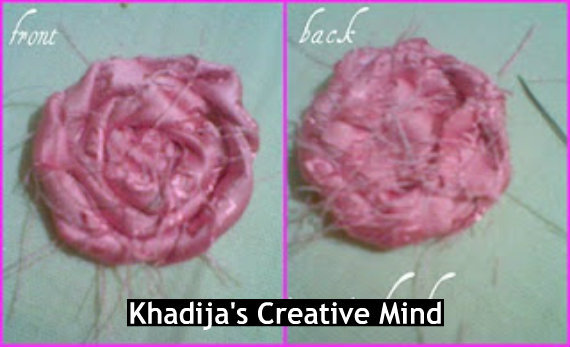
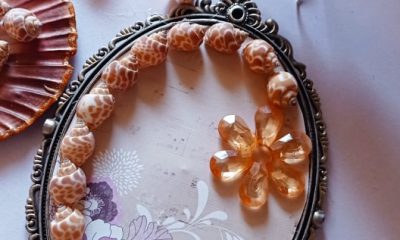
These are both sides of the rosette
I hope you can understand it well via images and instructions.
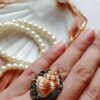
It was easy to create & you can use it for making headbands,Shirts embellishments, necklace bibs, Shoes, wrist bands & so many more thingies. In my upcoming blog posts you will see more ideas and creations with this fabric.
You can enjoy my other Flowers Making tutorial here.
Thank you!


Pingback: Rosette Headband Tutorial