Home Decoration
How To Apply Sticker Wall Decal-Review
I am a big fan of making wall arts & paintings. My craftroom walls are almost filled with my paintings & art work. As I have a tiny space which is called my craft room, So I am now careful about filling the walls furthermore with my art stuff. Recently I got a chance to review a beautiful sticker wall decal. Wait.. I still have some space to design a wall of my craft room? Oh yeah I still have some space! Let’s see.
I have installed the wall decal sticker & product review is here with my dear sweet readers! Have a look.
How To Apply Sticker Wall Decal-Review
Crafter’s Den Wall Decal Review
You may remember when update my dear readers about the new wall color of my craft room. I hang my colorful paintings on the craftroom wall after the pink paint done? As my craftroom is pretty bright with natural light coming from window & two doors, So the pink color doesn’t seem exact pink in pictures. It looks so dim here!
Crafter’s Den sent me a wall decal sticker & I applied on my craft room wall. Today I will show you how you can install a wall decal on your room walls. It’s super simple & easy. Let’s see how I did it step by step.
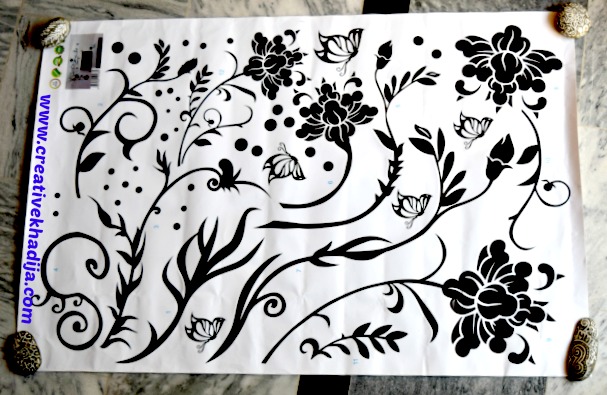
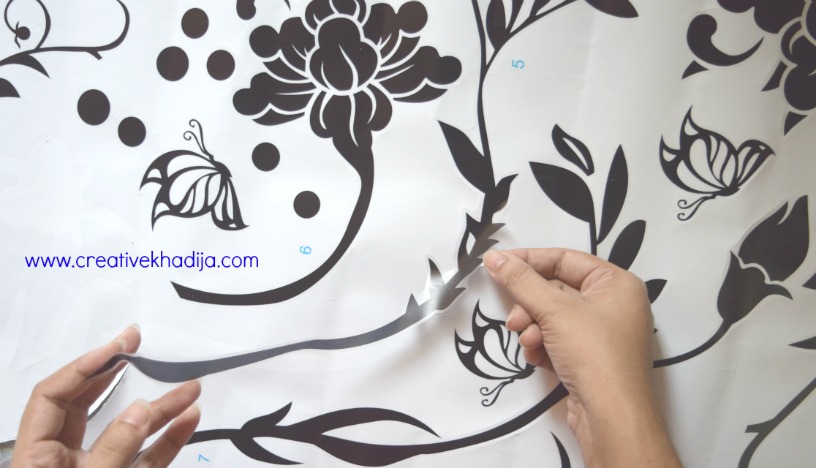
There is a sticker sheet you will get & all you need to do is to peel off from the sheet & apply on the wall. Enough easy way to decorate a wall.
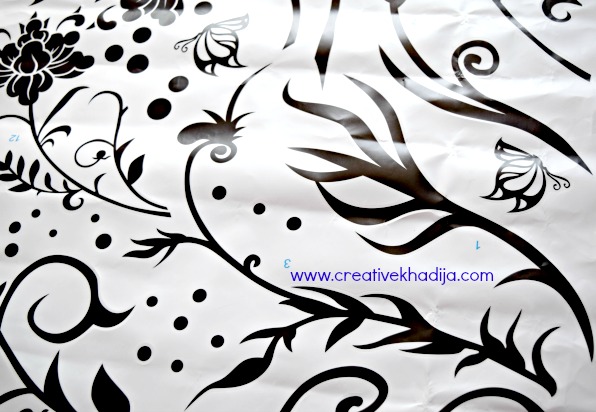 For the convenience of those who aren’t familiar with wall decals or sticker designing, There are numbers mentioned with each sticker piece, So you can easily follow the way how to fix it with design theme.
First of all I place the rolled sticker sheet on floor in front of the wall where I was going to apply the wall decal.
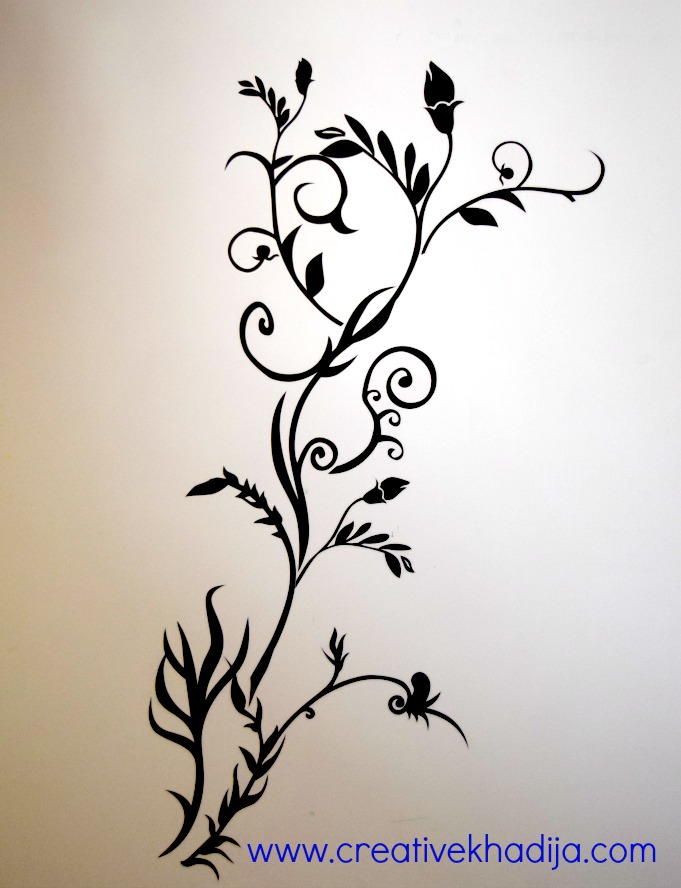
Step by step I peel off these vine stickers from the sheet & fixed on the wall. Thanks to dear brother who helped me with his suggestions about where the vine looking good & where it’s not. Also He captured the click I share above. By the way, I didn’t follow the design numbering here. I paste it according to my own choice.
Let’s start installing wall sticker now!
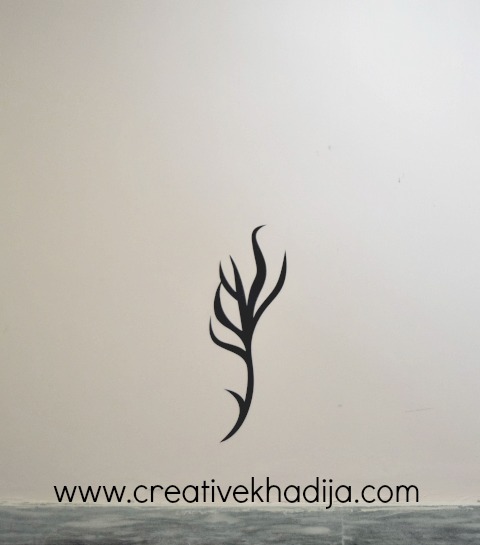
I started near the bottom. The very first sticker on the wall.
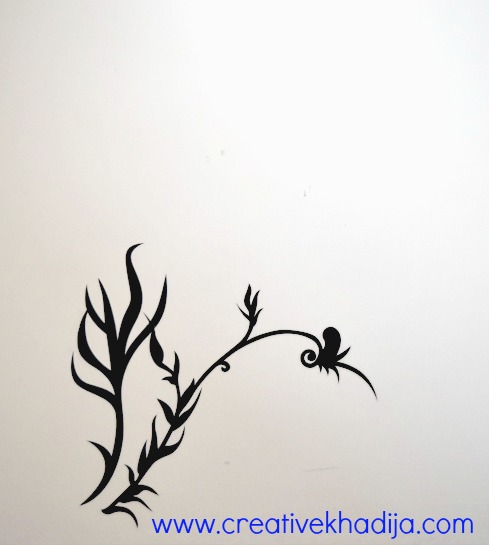
Step by step going to paste these on the wall.
These stickers are thin & with transparent outline. If you see there is any wrong placement done while applying, You can remove from the wall and stick it again carefully.
While applying the stickers, You need to do it carefully, because if the long strip sticker will stick together, This might make a mess with design & sticker.
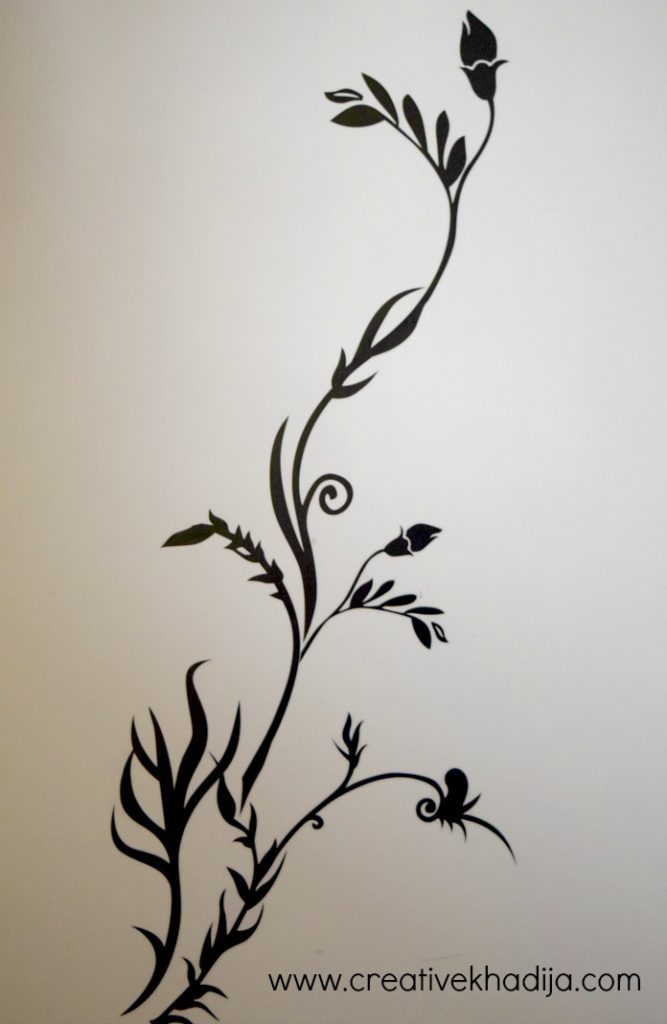
As far as it was completing step by step, It was exciting result. How simple, easy & quick way to decorate a plain wall. Wow!
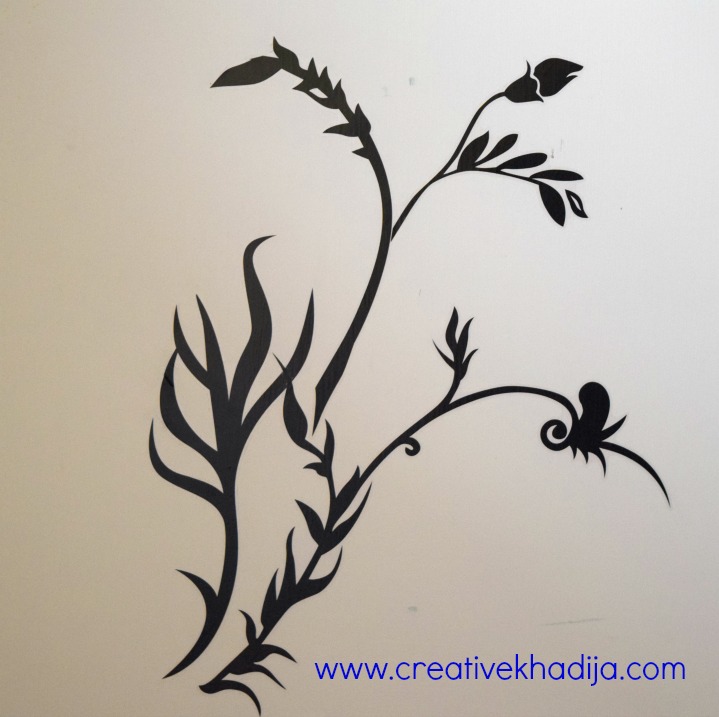
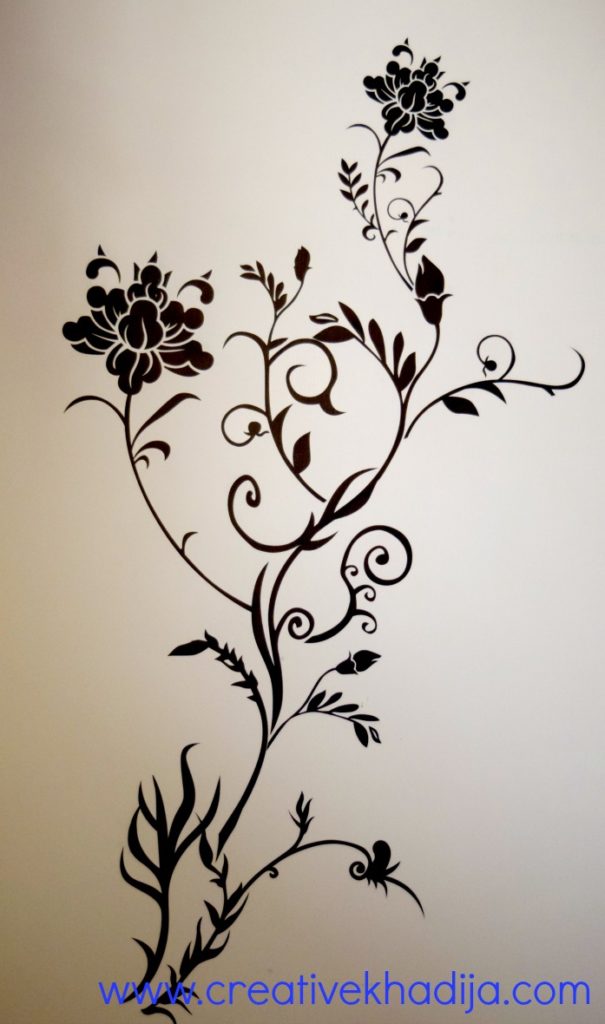
After installing the branches then I paste big flower stickers.
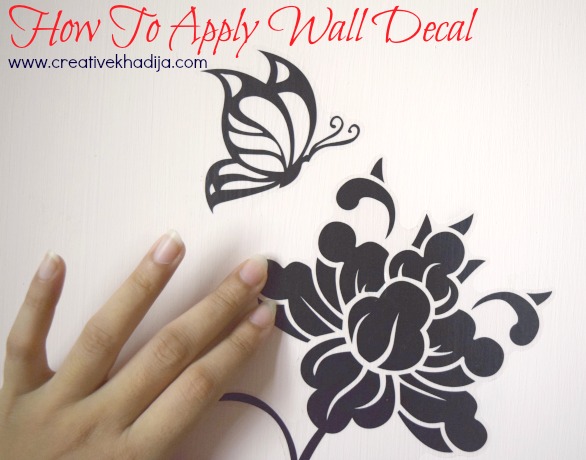
Almost done!! But NO.. here is a small video I have share on my snapchat & Instagram. I am sure you dear fellows already have seen this video. But for those who missed it, Here is the short video of butterfly sticker application.
Can you play this video easily? If any issue, You can check the video on my Instagram directly.
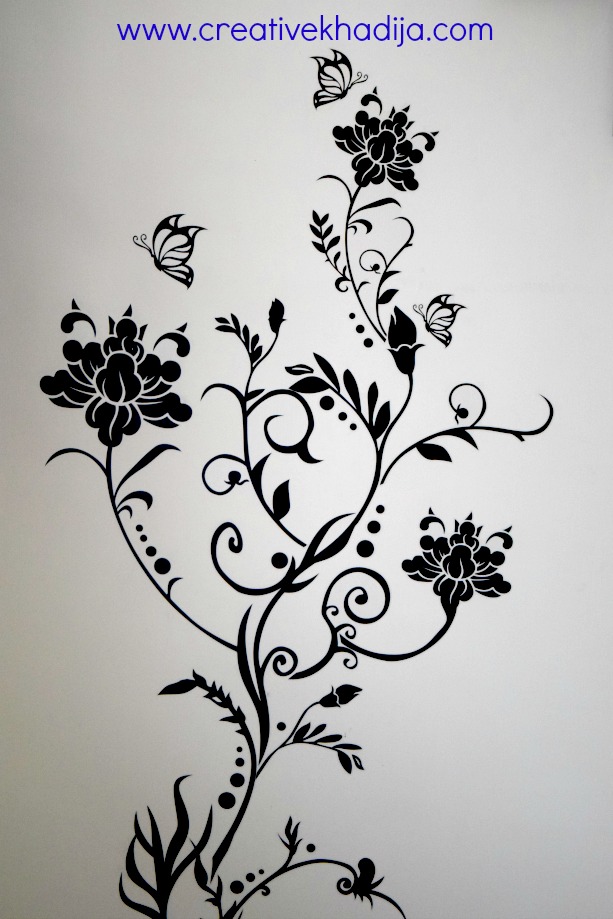
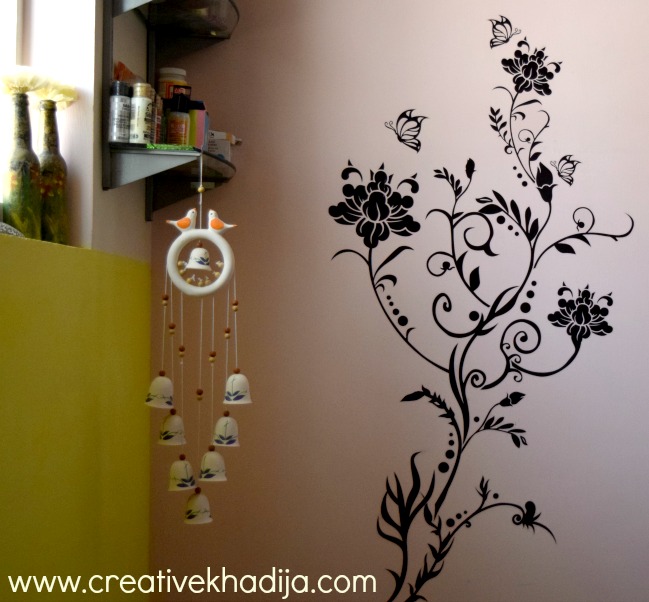
In the end I fix some dots stickers with the design. Now it’s looking more filled & proper. Isn’t it?
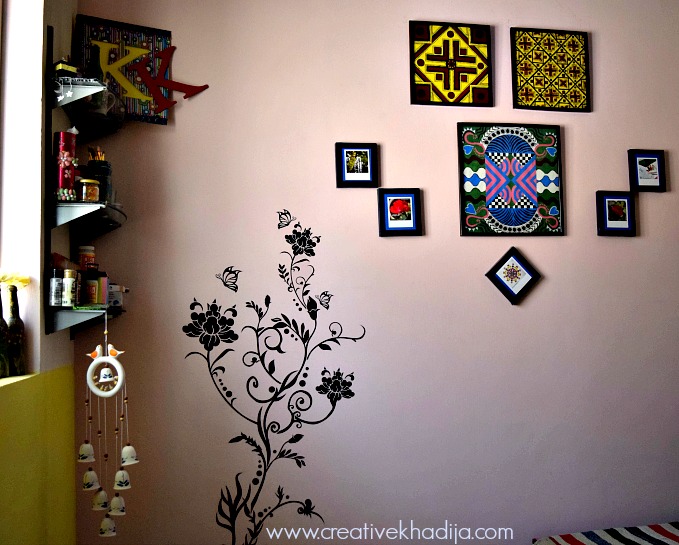
It’s done!! My craftroom wall is complete now! What do you think friends?
It takes 15 minutes in installing the wall stickers. As I were photographing step by step, So 30 minutes for me & my wall is having a perfect look now.
Do you want a wall decal for your bedroom, living room or for your kids room? You can buy wall decals from Crafter’s den. They have good quality products with reasonable prices.
Have a great day!
Khadija
P.S – This post contains affiliates links. Thank you for your support.







5 Comments