DIY
Twine Reminder-Memory Board DIY
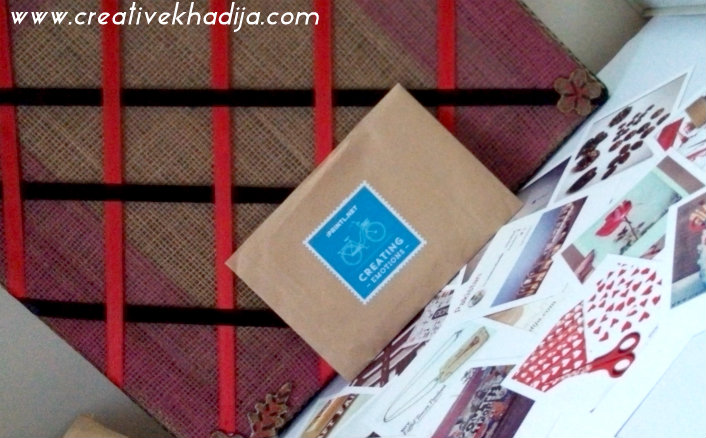
Memory boards are important element of our living room walls, I made an easy version of a reminder/memory board for my craftroom wall recently, As I were getting some pretty Polaroid prints from one of my affiliates Printl. So they were sending me Polaroid prints monthly from my instagram gallery.
I were thinking how to manage these pretty Polaroid pictures.. So this idea came in my mind one day! You might remember my that article in which I share about a burlap canvas which was my Earrings organizer previously..& before that Accessory hanger, it was a weaving frame during my textile design studies! So I am reusing & upcycling this old frame several times! but I think (I am not sure though) this is the final version of its reusing!
See how it is done finally!
Twine Reminder-Memory Board DIY
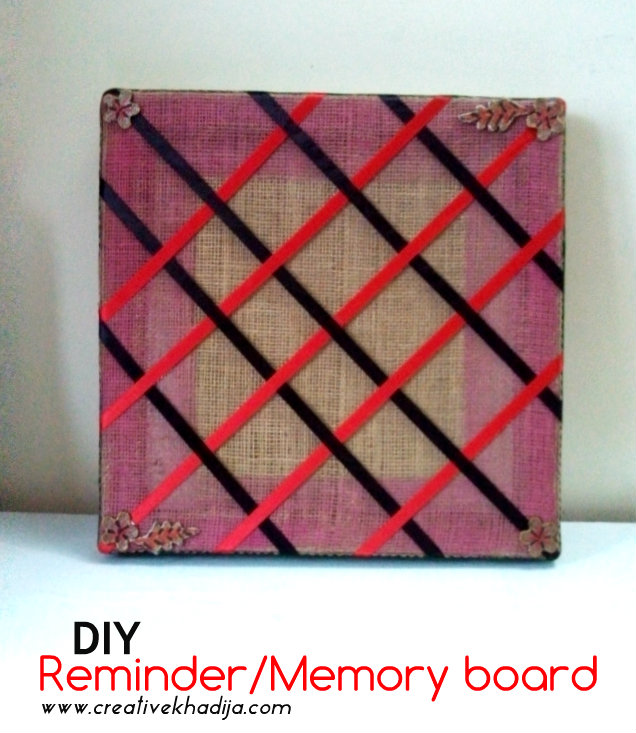
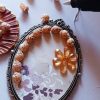
It was a weaving frame but couple years back I cover it with burlap & make it a jewelry hanger. Few days back when I were painting my craftrrom wall, I paint it a little with leftover paints on palette. I decorate it with ribbons & dough flowers & made it a Memory board now!
See How I made this Memory Board, Feel free to PIN IT..
1- Gather Supplies. Frame, Ribbons, glue gun, dough flowers, scissors.
2- Measure & Cut the ribbons according to the frame size. keep one inches extra.
3- Weave it with design,
4- Use glue gun to paste the ribbons.
5- Paste a wide ribbon to hide the glue gun & ribbons from sides.
6- Fix some dough flowers at corners.
7- Let it dry! ( and see where is the mistake… I know the symmetry is not well because I fix the ribbons without measuring distance between ribbons)
Here it is the final look. How is it?
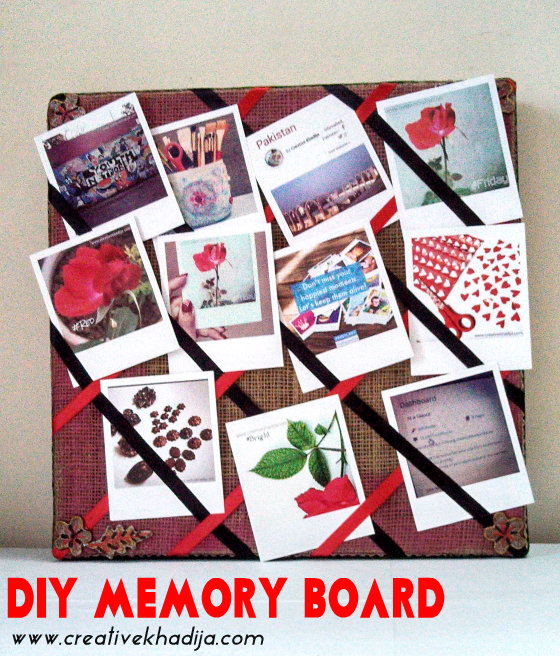
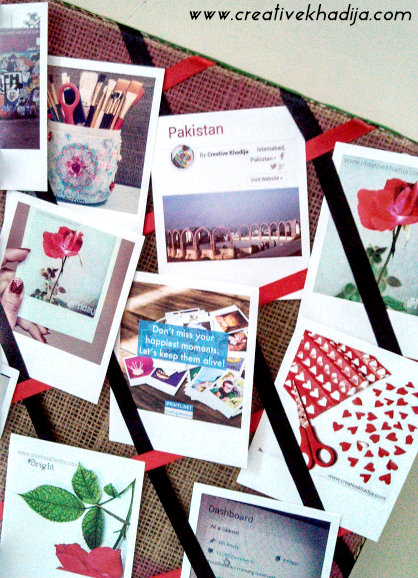
I put a few of my favorite prints on the memory board. Will shuffle or change with time :)
“Don’t miss your happiest moments. Let’s make them alive”. whenever I have a look at my memory board, I can see my favorite crafts, photography & locations updates from my instagram gallery! how fun.. :)
Thank You Printl for sending me these beautiful prints all the way from Russia.
I shared the above click at my instagram & it was appreciated a lot :)
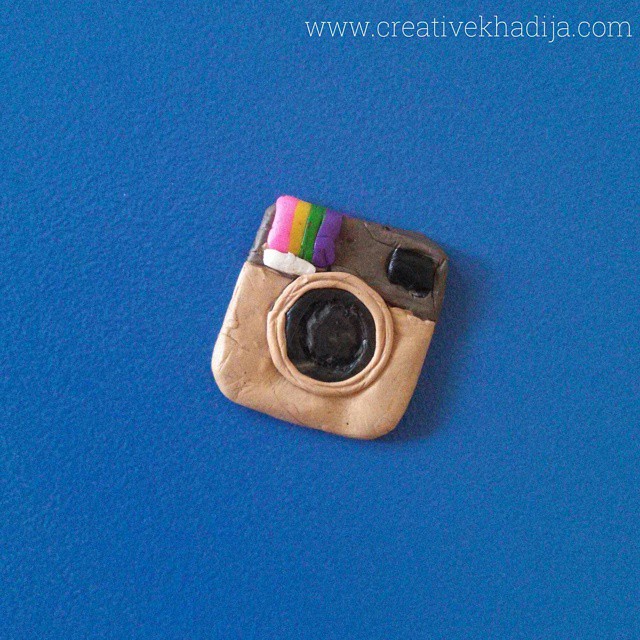
I made a little logo of instagram with polymer clay. Now I am going to make a pendant with it.. What do you think?
I hope you liked the tutorial. Here is the video for more step by step details. Enjoy!
Have a great day friends :)
Khadija















19 Comments