Decoupage
How To Decoupage Old Table with Mod Podge
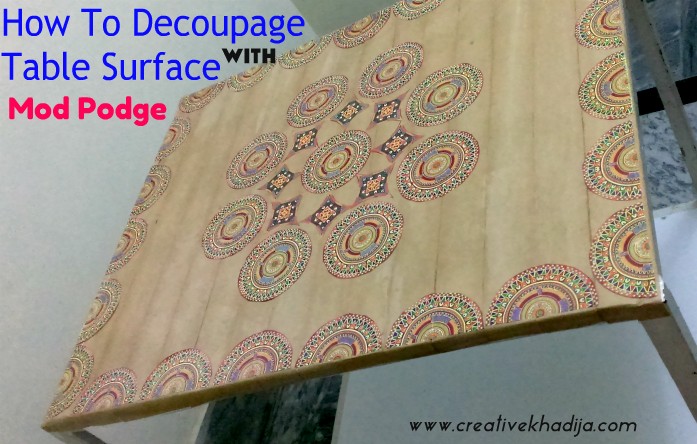
Have you ever tried decoupage? If not, Then you should give it a try! Decoupage is a pretty papercraft idea. I am a big fan of paper decoupage. Today I will be sharing how I decoupage an old table with some scrapbook paper pieces. If you have any old table at home, Design it with decoupage. Let’s see how to decoupage an old table with Mod Podge.
You don’t need to have master skills in decoupage art for designing this table surface. Just a few craft supplies & a little bit of effort & you are done! Have a look now :)
How To Decoupage Old Table with Mod Podge
Is it looking like a wooden surface? At first glance, it looks like a wooden table but it’s a metal table & I decorate it with paper decoupage only!
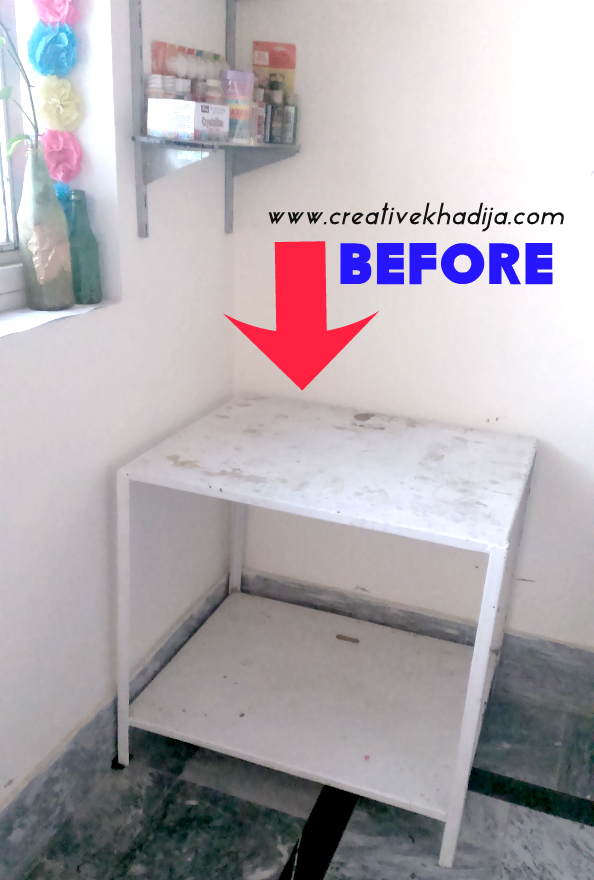
Here it is a before image! It was a boring dirty white table I used to keep near the window in good natural light for photography while placing a white or coloured sheet over it. Super useful for my craft room but pretty boring it looks there! So I thought to decorate it with paper decoupage!
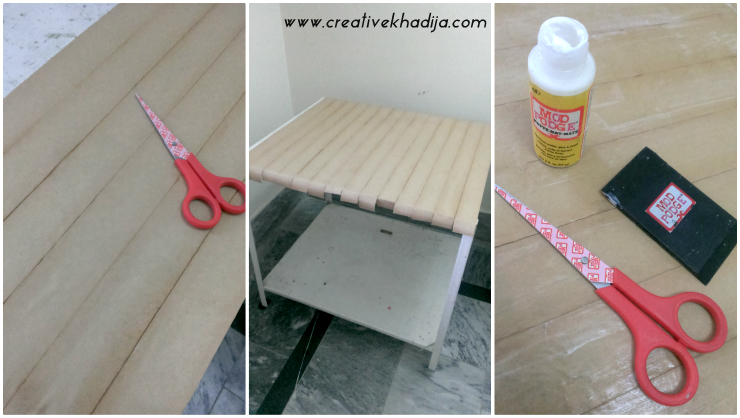
Supplies You will need :
Brown Paper Tape
Mod Podge
Scrapbook or Podgeable paper
Scissors & applicator.
First of all I paste some brown paper tape on the surface of white table. Then I use Mod Podge outdoor formula for sealing the brown paper tape. There were some bubbles when I paste the paper tape. I have also used the same paper tape for my previous Washi Tape table design. Actually I have a big roll of that tape which I don’t know where to use. So better use it this way!
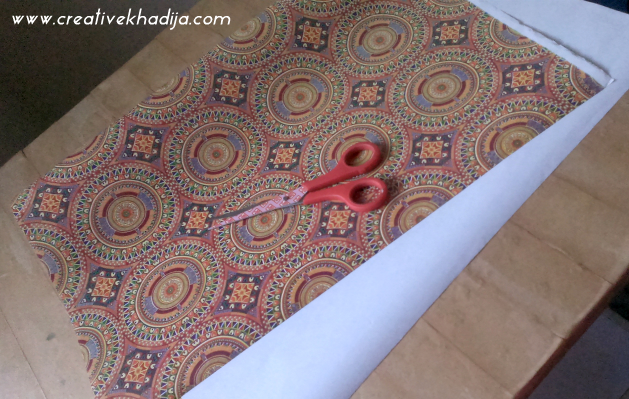
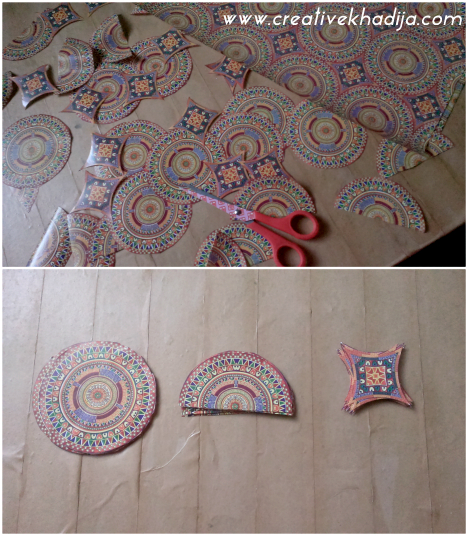
I was at a paper stationery store a few days back & there I saw this gift wrapping sheet. The circle motifs were looking so good & I bought them without even knowing where I will use them in crafts. So here today I am thankful to myself for buying this pretty sheet. It’s time to decorate with this sheet. Isn’t it pretty?
I cut & separate the circles from the paper sheet. Then I cut some of these & make some half circles. Now it’s time to decoupage! yeah..
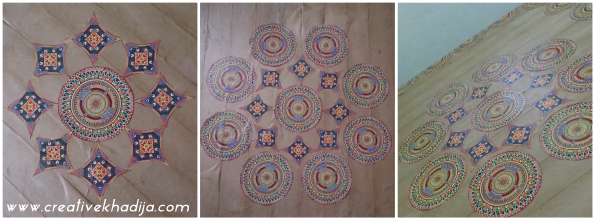
First of all, I paste a circle motif in the middle of the table. Then started pasting other motifs around it & completed the whole design. I used half-circles for the sides of the table. When pasting is done, I seal it with mod podge again. And it’s ready! OMG.. I was so happy to see what I have done!
Now my craft room table is colourful one! With an attractive surface. Wow! Let me know if you liked it or not?
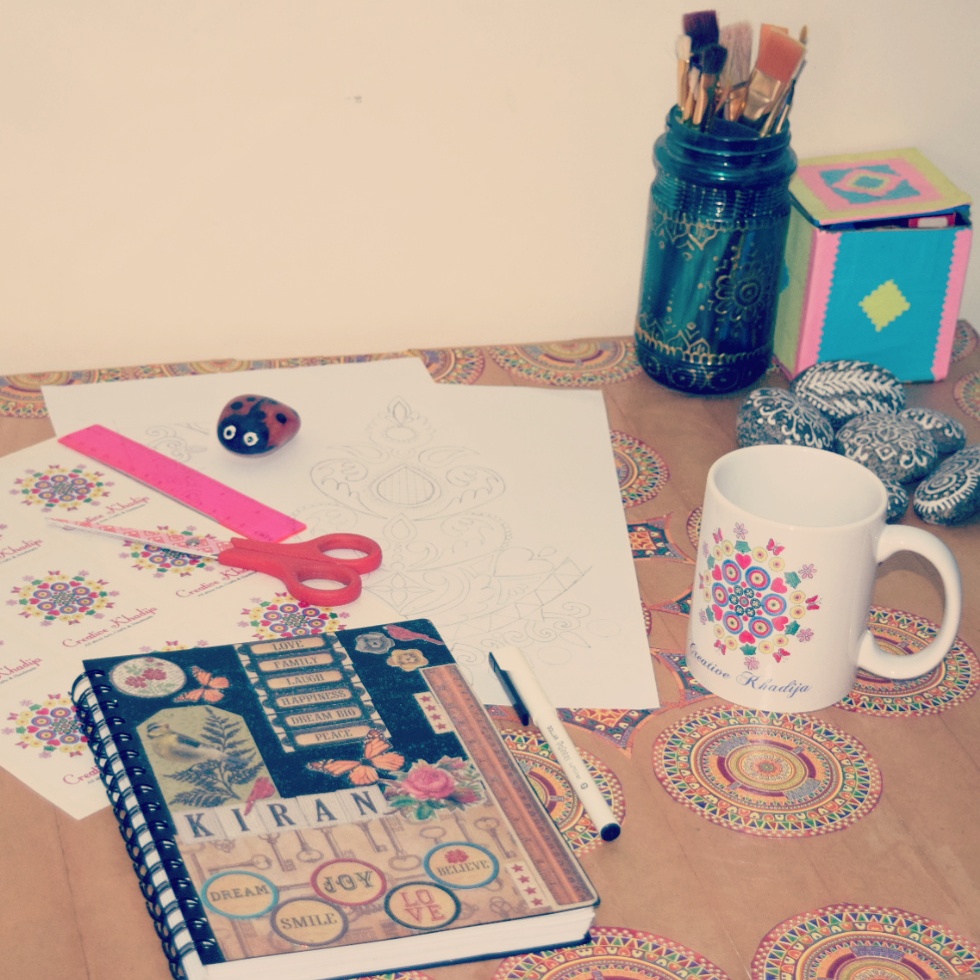
In my previous article, I shared my work table essentials. I bet you noticed the table there too. I am happily working on these days. It’s fun sitting around the things you have created or handcrafted :) isn’t it?
You can have a look at my previous Mod Podge Crafts. I hope you will like my other ideas & DIYs. Be sure to share the idea with your friends via social media networks, You can use the sidebar sharing buttons for spreading this article with your social media friends. If you find it easy & interesting, Be sure to share this article. Because sharing is caring. Right?
Have a blessed day everyone!
Thank You.
Khadija ~













67 Comments