Decoupage
How To Decoupage Box With Scrapbook Paper
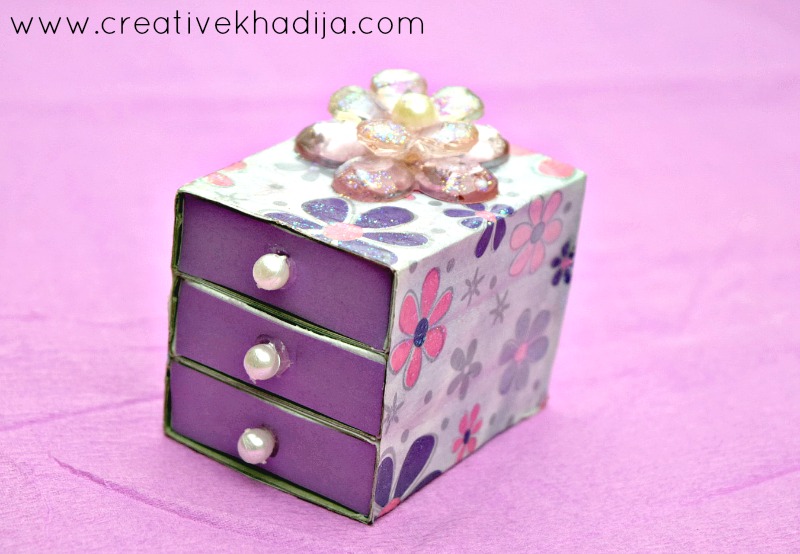
Hey girls, How are you doing, I am thankful to all of you for appreciating my previous post in which I share Decoupage Match Box Drawer Case. Today I am going to share another paper craft idea on how to decoupage a plain box with scrapbook paper and mixed media goodies. This is pretty easy, Simple & cute idea how you can decorate a plain box with a little bit effort.
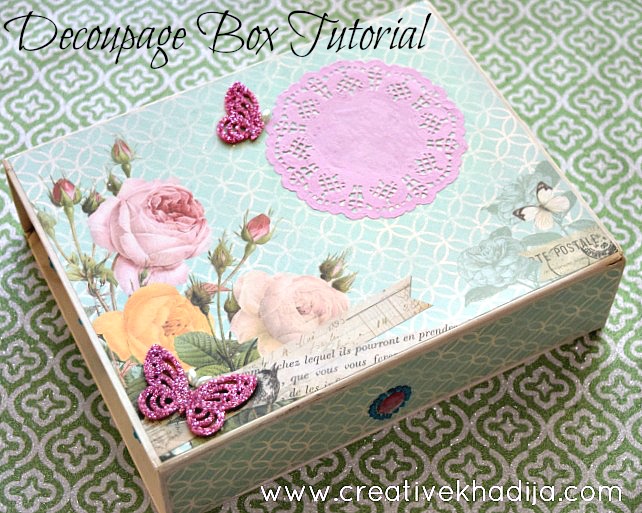
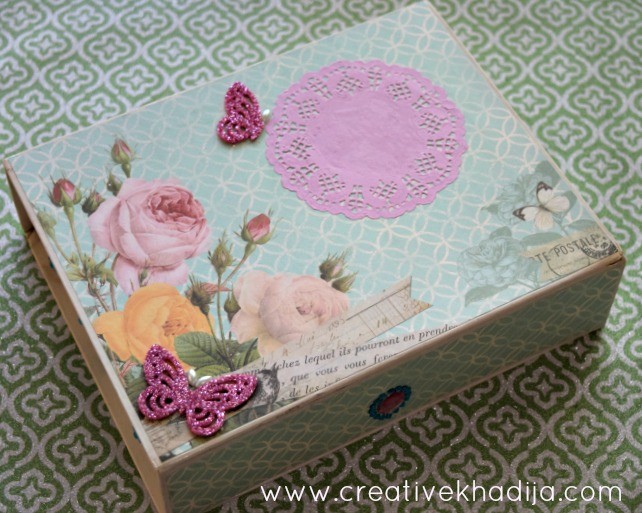
I was saving a plain box in my craft cupboard for almost 2 years. I wanted to make something pretty on it’s white surface. It’s plain white, I plan to design and decorate it many times but missed. Finally I get a chance to design it with some paper goodies like scrapbook craft paper sheets, Paper doilies, some glitter foamic punched stickers & rhinestones etc. Have a look how I have designed & transformed this simple box into a beautiful storage box.
How To Decoupage Box With Scrapbook Paper
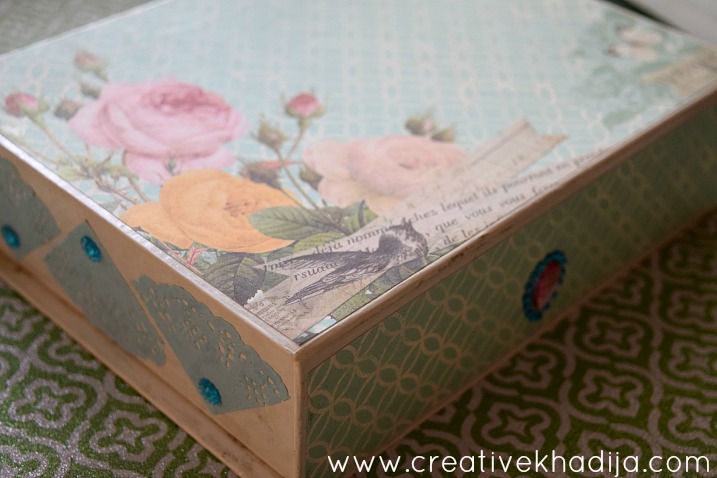
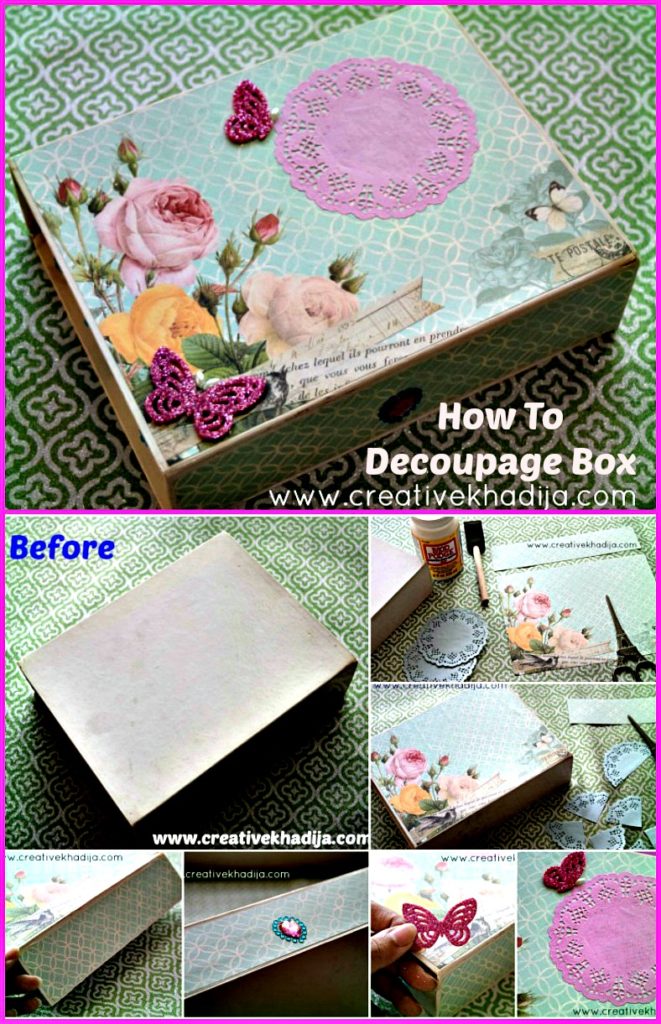
Is this looking good? Would you like to see how I design this easy & cute box for organizing my crafty goodies inside? Here is the step by step tutorial. Have a look :
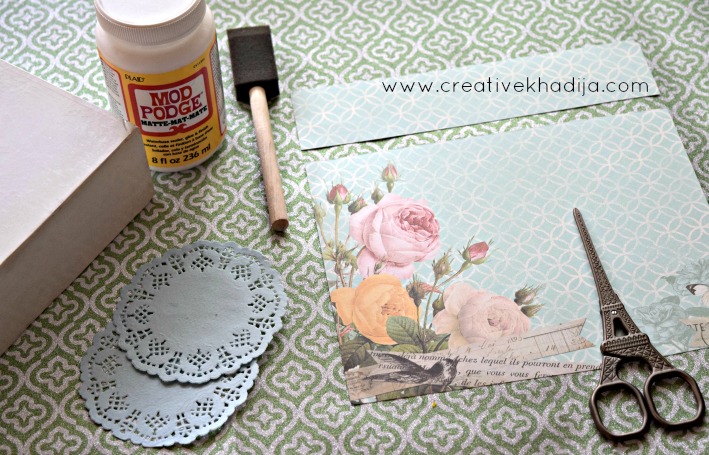
 Craft Supplies You will need to have:
You will need a plain box
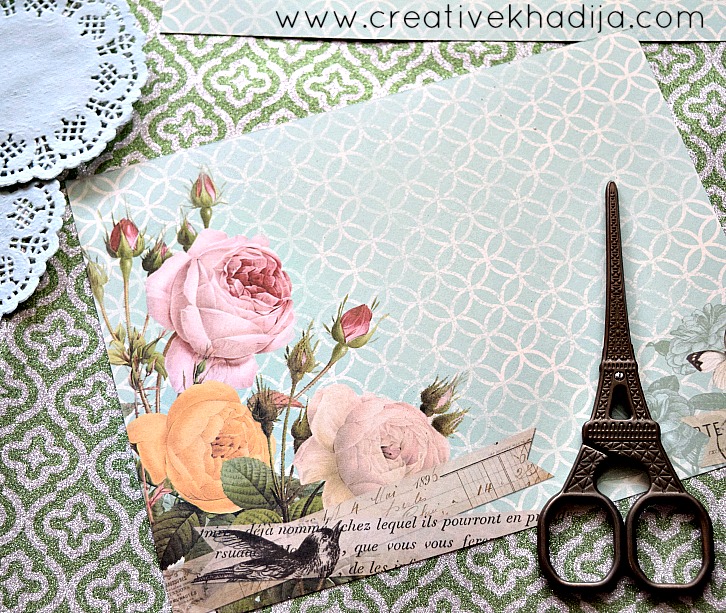
Scrapbook paper sheets
Transparent Glue or Mod Podge
Paper Doilies
Rhinestones
Foam Brush Applicator
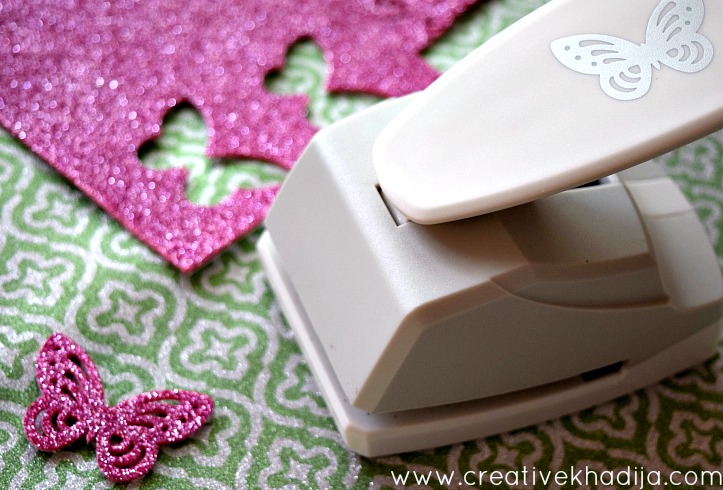
Scissors & Paper Punch (butterfly design)
Glitter sheet
This post is sponsored by Crafter’s Den. They sent me Scrapbook Sheets, Colorful paper doilies, Eiffel design scissors & the paper punch for review. They deliver craft supplies all over Pakistan. Go check their facebook page If you want to buy craft supplies.
Let’s start crafting! Yay..
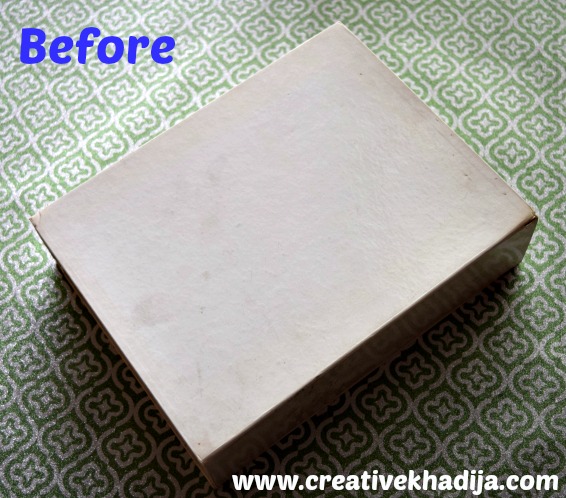
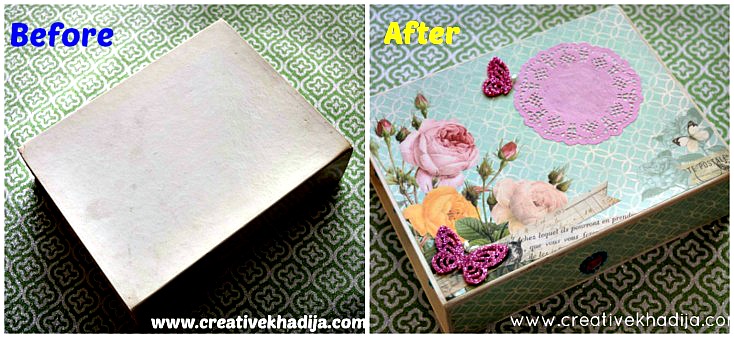
How simple and boring is this box looking. Nahh.. I can’t bother this plain look anymore.. haha. Let’s decorate it :)
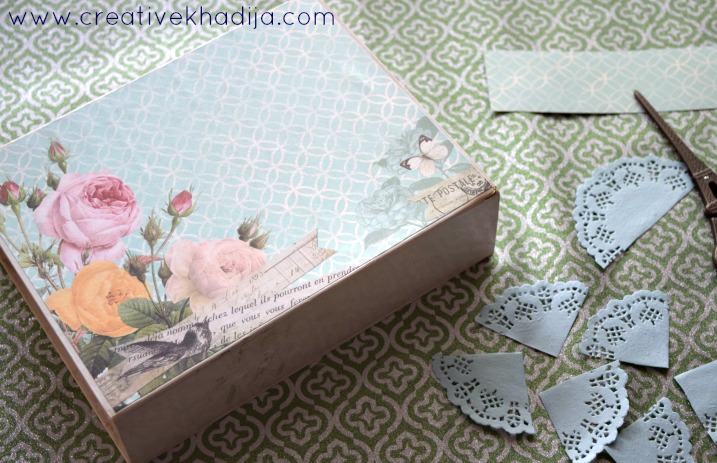
Measure the scrapbook sheet according to your box size, I cut the extra strip & use it for the opening section of the box.
First of all, Glue the surface of the box slightly thin coat & fix the sheet on box carefully. Press smoothly, So there will be no bubble bump.
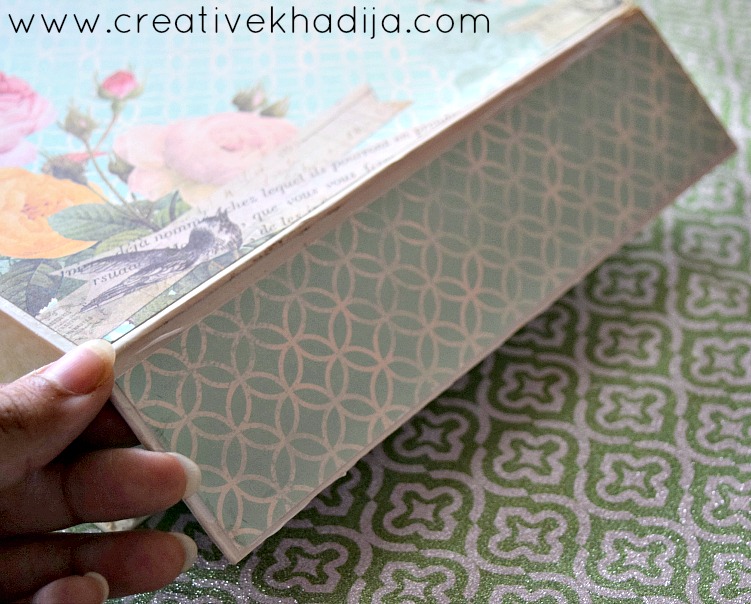
The extra strip which I cut out, Just pasted on the opening section of the box.
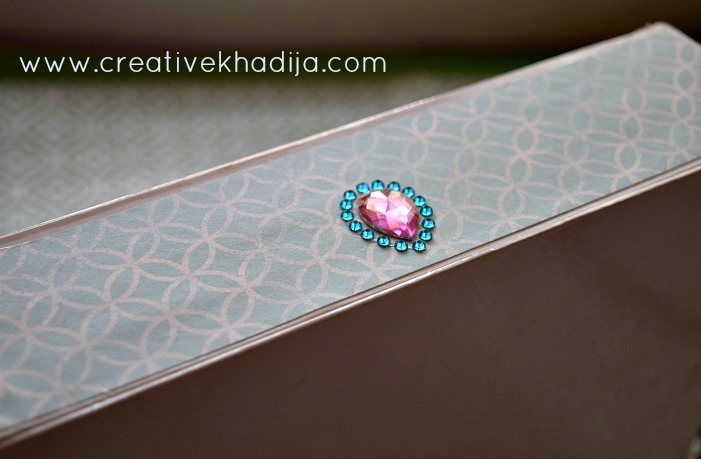
I paste some rhinestones on the strip. This motif shows where to open the box.
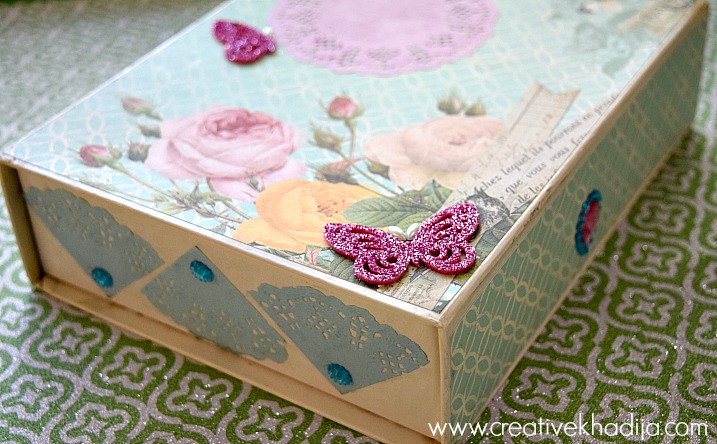
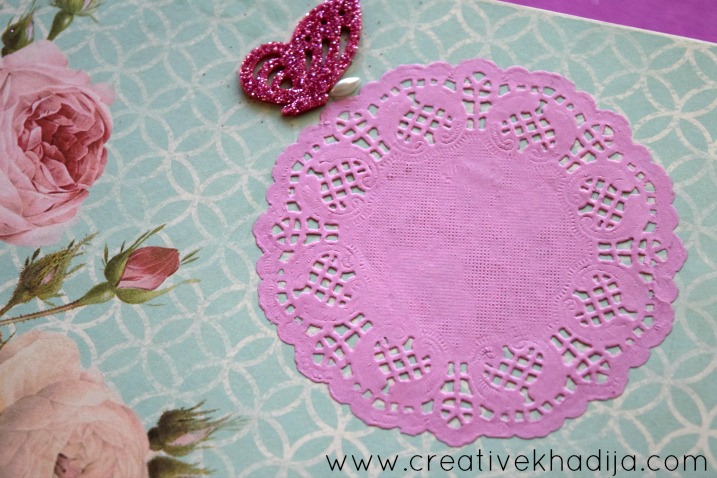
For the other sides of the box, I cut some paper doilies & made 4 pieces of each, Then I paste it on box with an addition of blue sticky rhinestones.
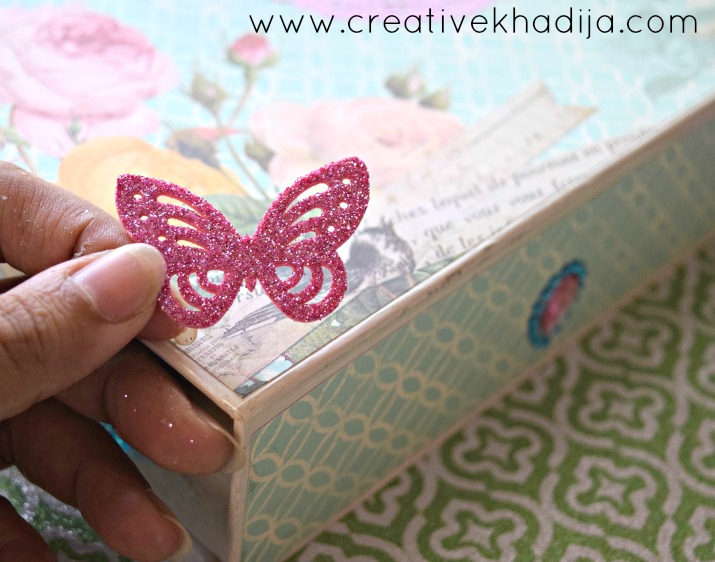
I got this butterfly punch from Crafter’s Den, I tried this on a glitter foamic sheet cutting & it works too well. I punch two butterflies & pasted these on the box. The glitter look is giving a new life to a vintage styled floral box.
I love everything glitter. A few weeks back I bought a bunch of glitter sheets in every color. I choose pink for today’s project. There are so many ideas to use these butterflies with crafts. This paper punch is a must have for every paper crafter I should say!
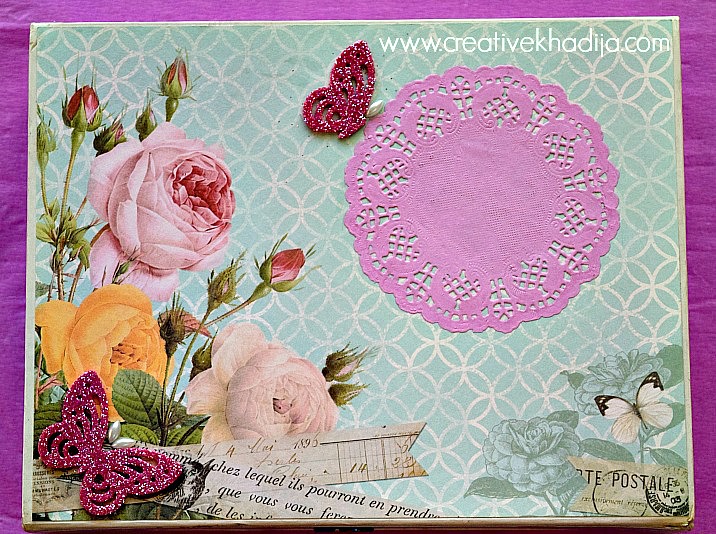
Voila.. It’s Ready!!!! OMG I love this box.
I am not sure what to write on this doily? Any suggestions please? You are welcome!
The decoupaged box is ready to store crafty goodies inside or anything you want to save. I am organizing my small crafty goodies inside. This is al;so perfect as a gift box. You can put any gift inside a beautiful decorated box. You can write Happy Birthday or Happy Eid greetings on the box as well. So many ideas :)
From trash to treasure, Isn’t it?
Let’s share this collage on your social media networks & let your friends know how they can reuse & recycle any old box into a beautiful storage box. I am glad to see the end result & this was not possible without the cute crafty goodies I have got from Crafter’s Den. Thank you so much for the craft supplies. I have another beautiful item from them which I will be reviewing soon on my blog. Any guess what it can be?
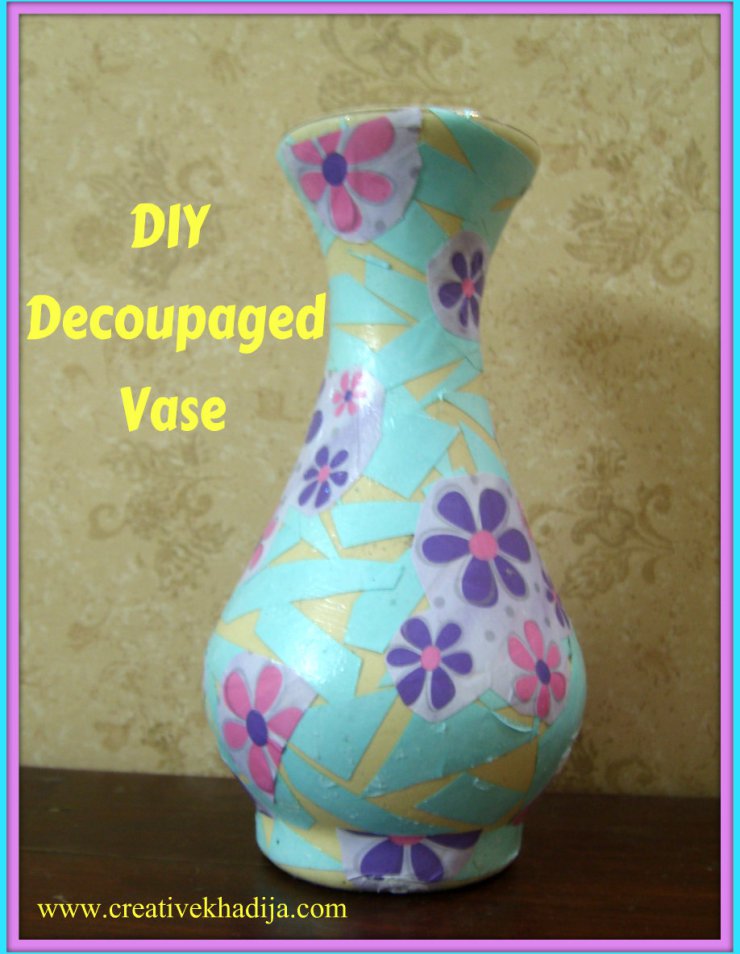
You can also have a look at my other decoupage craft ideas & tutorial.
How To decoupage Match box drawer case.
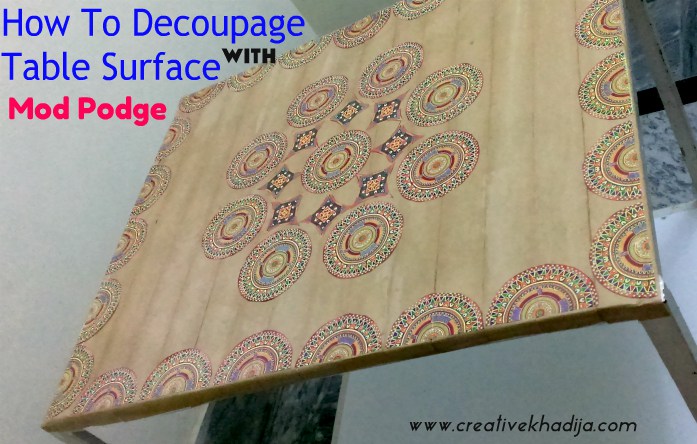
How to decoupage Table surface.
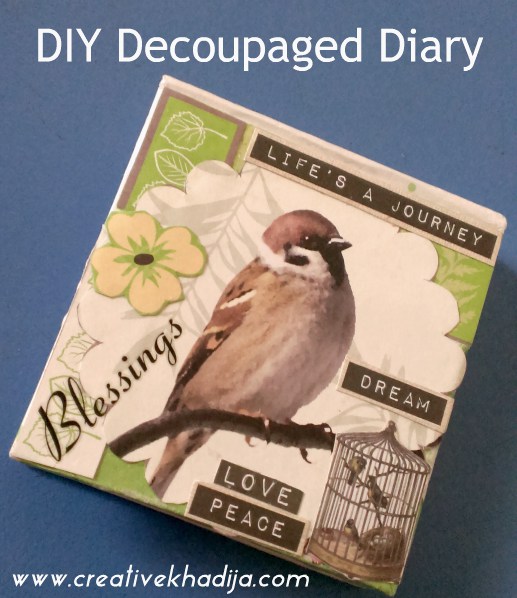
How to Decoupage pocket size diary.
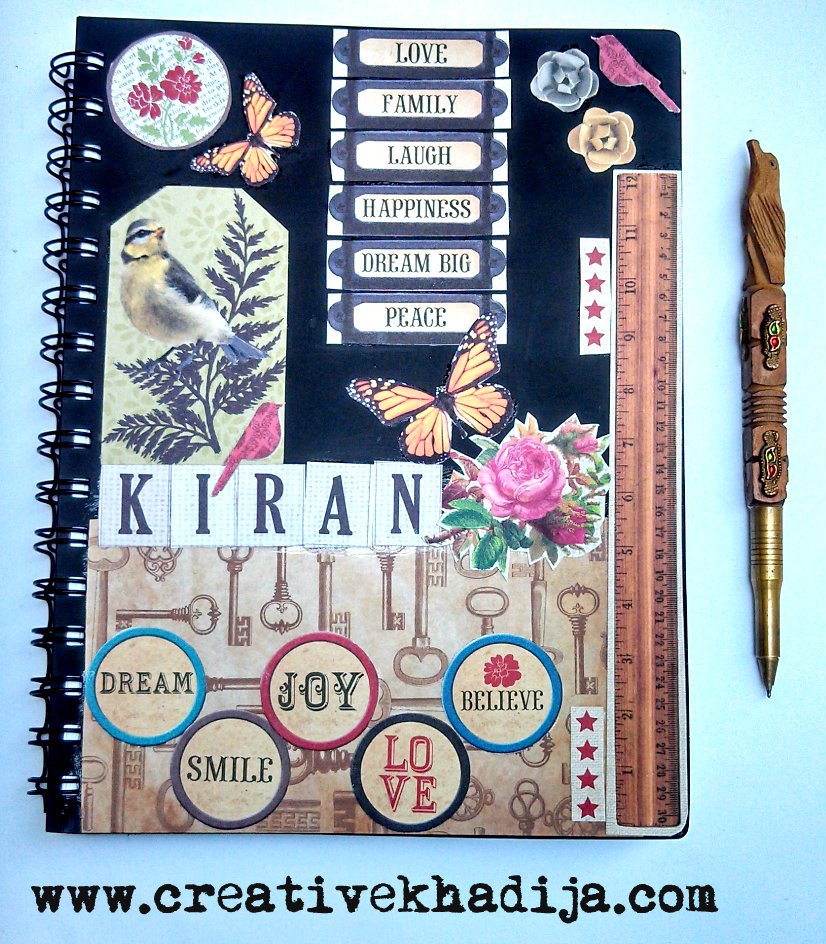
Vintage Planner Decoupage Tutorial
I hope you liked my today’s decoupage tutorial. I would love to hear your feedback, Feel free to share if you have done crafting something like this. Send me via email or social networks.
Happy Crafting!
Khadija ~
P.S – This post contains affiliates link. Thank you for your support.













22 Comments